Shape Your First Jewelry Skills
Practice basic bench habits, small-tool control, simple shaping, and cleaner finishing before a piece is called complete.
What Practice Covers
GemShape keeps early jewelry practice focused on real bench actions: measuring small parts, controlling pliers, shaping wire, checking seams, and smoothing edges before polish.

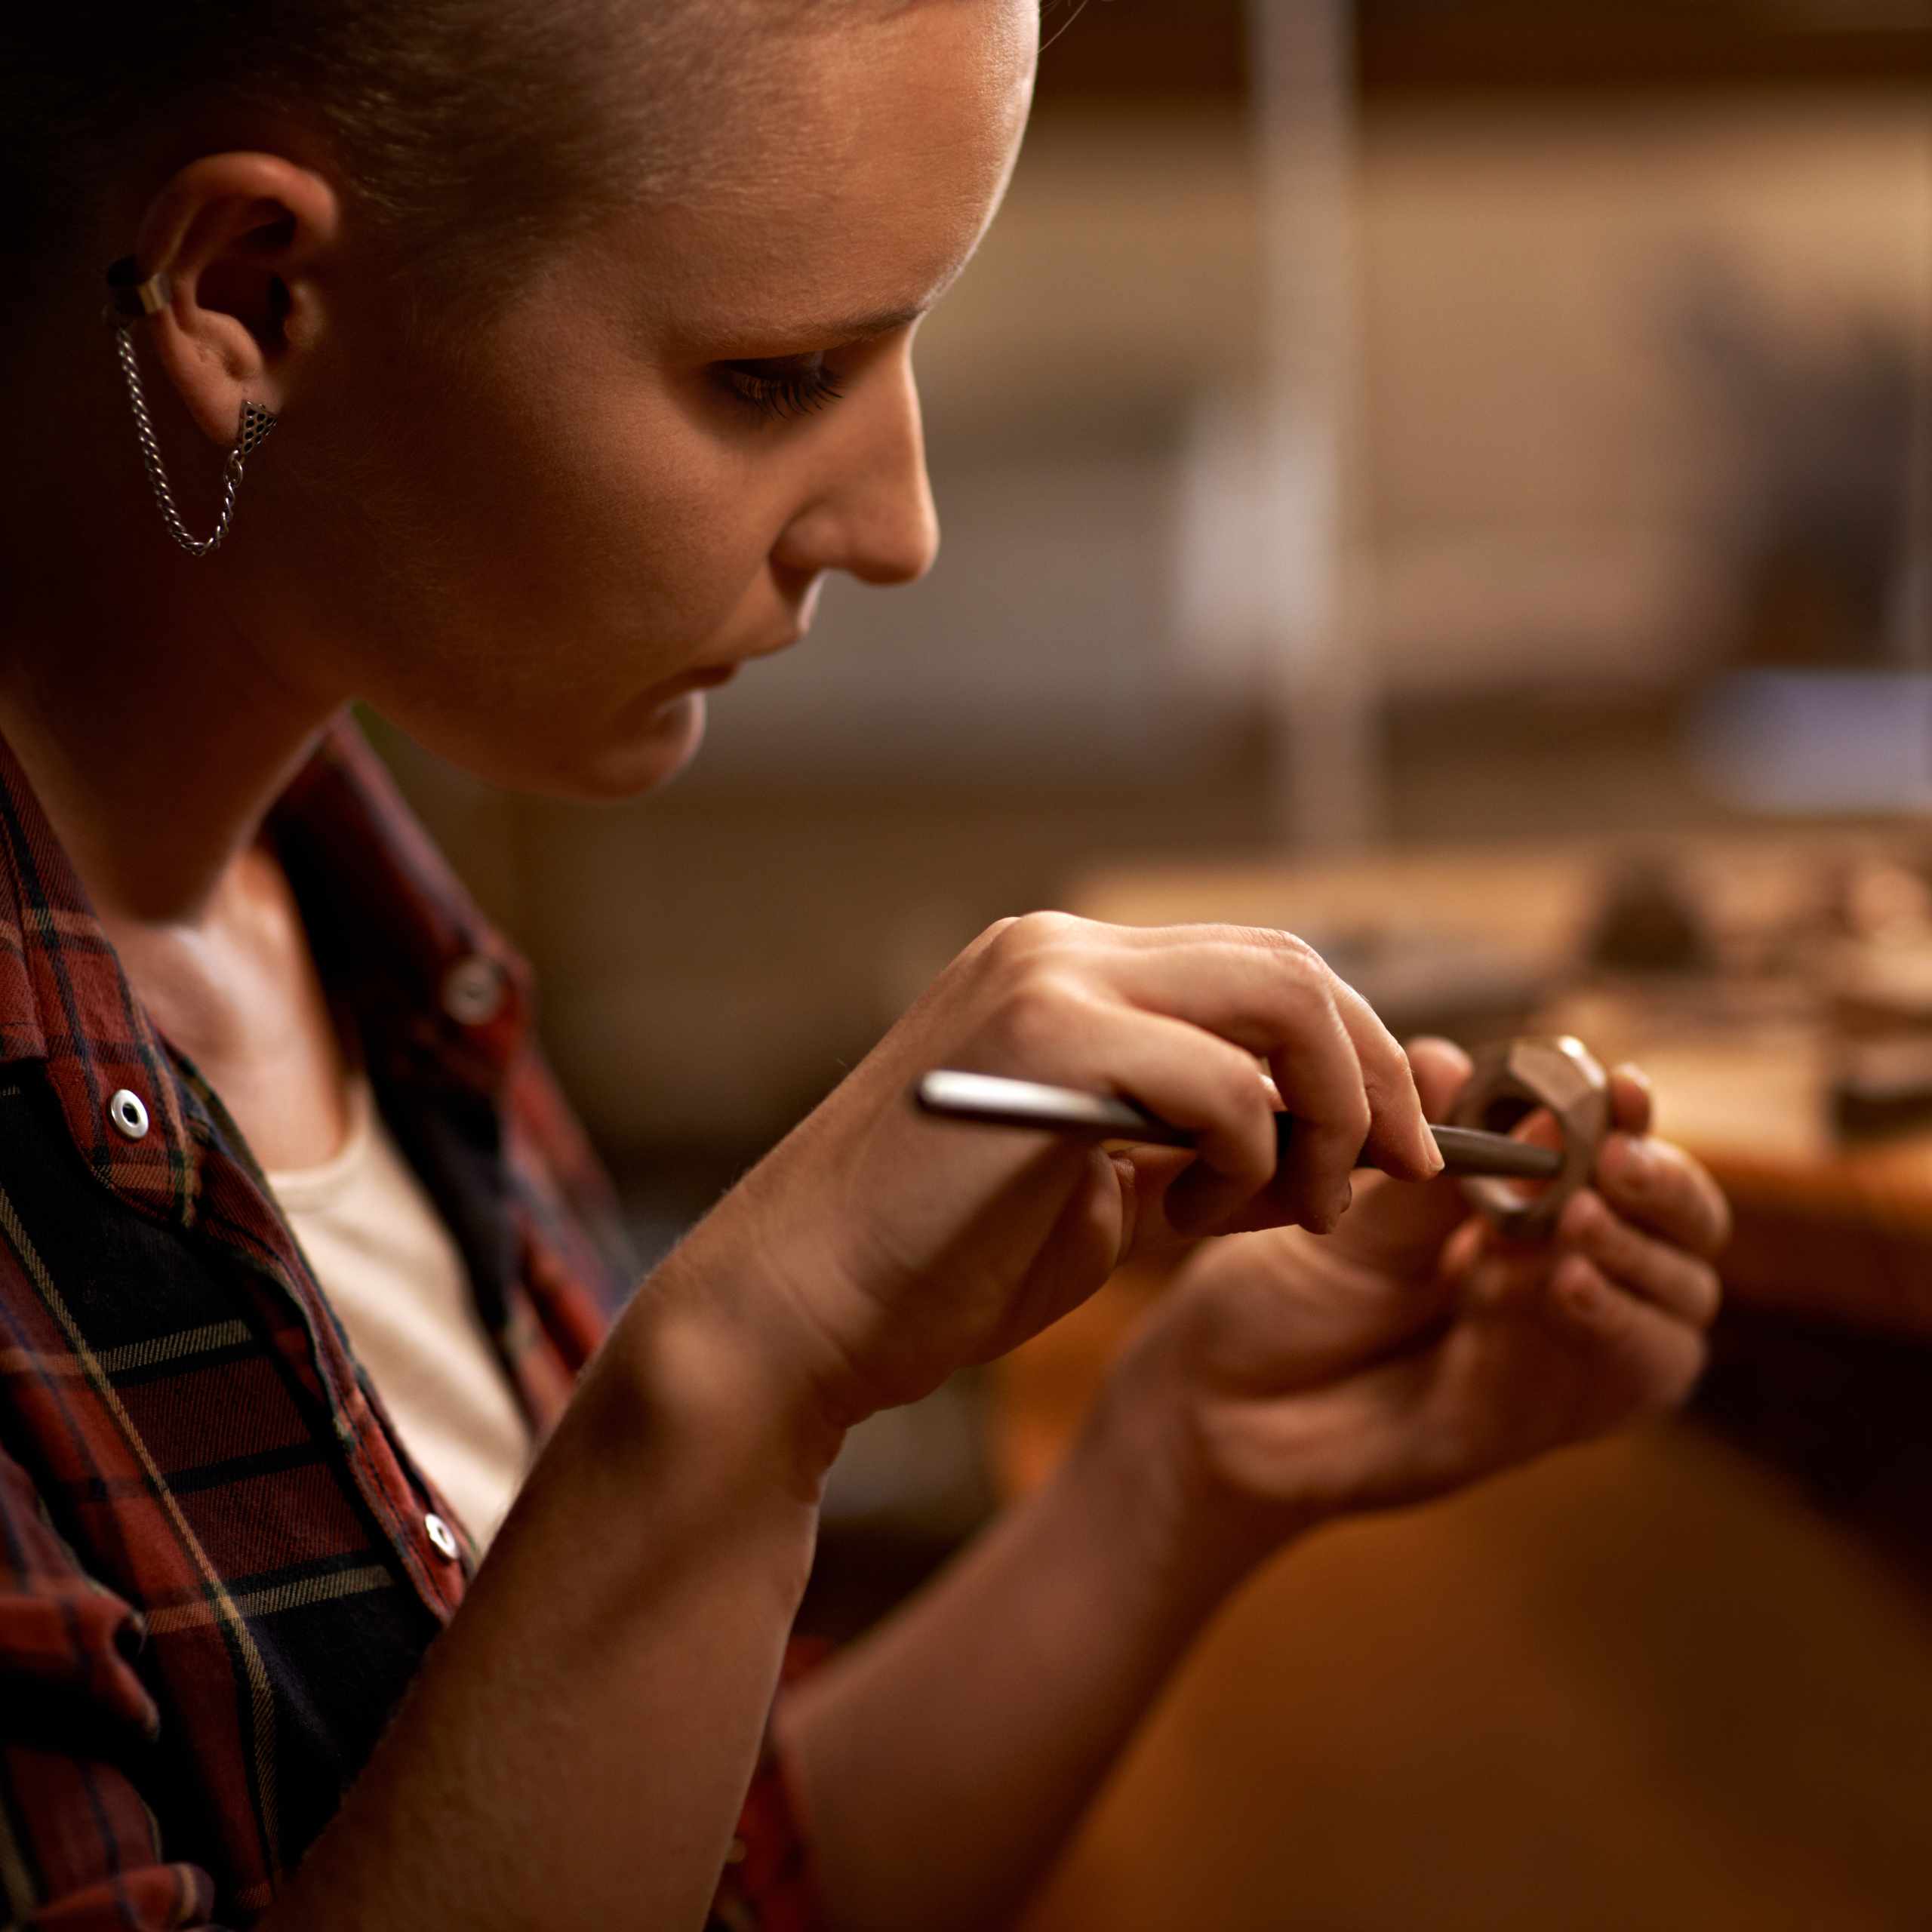
Tool Control
Work with pliers, cutters, files, and a work tray while learning how pressure changes wire, loops, and small findings.
Clean Measuring
Mark practice wire or sheet samples carefully so cutting, bending, and assembly start from a more reliable measurement.
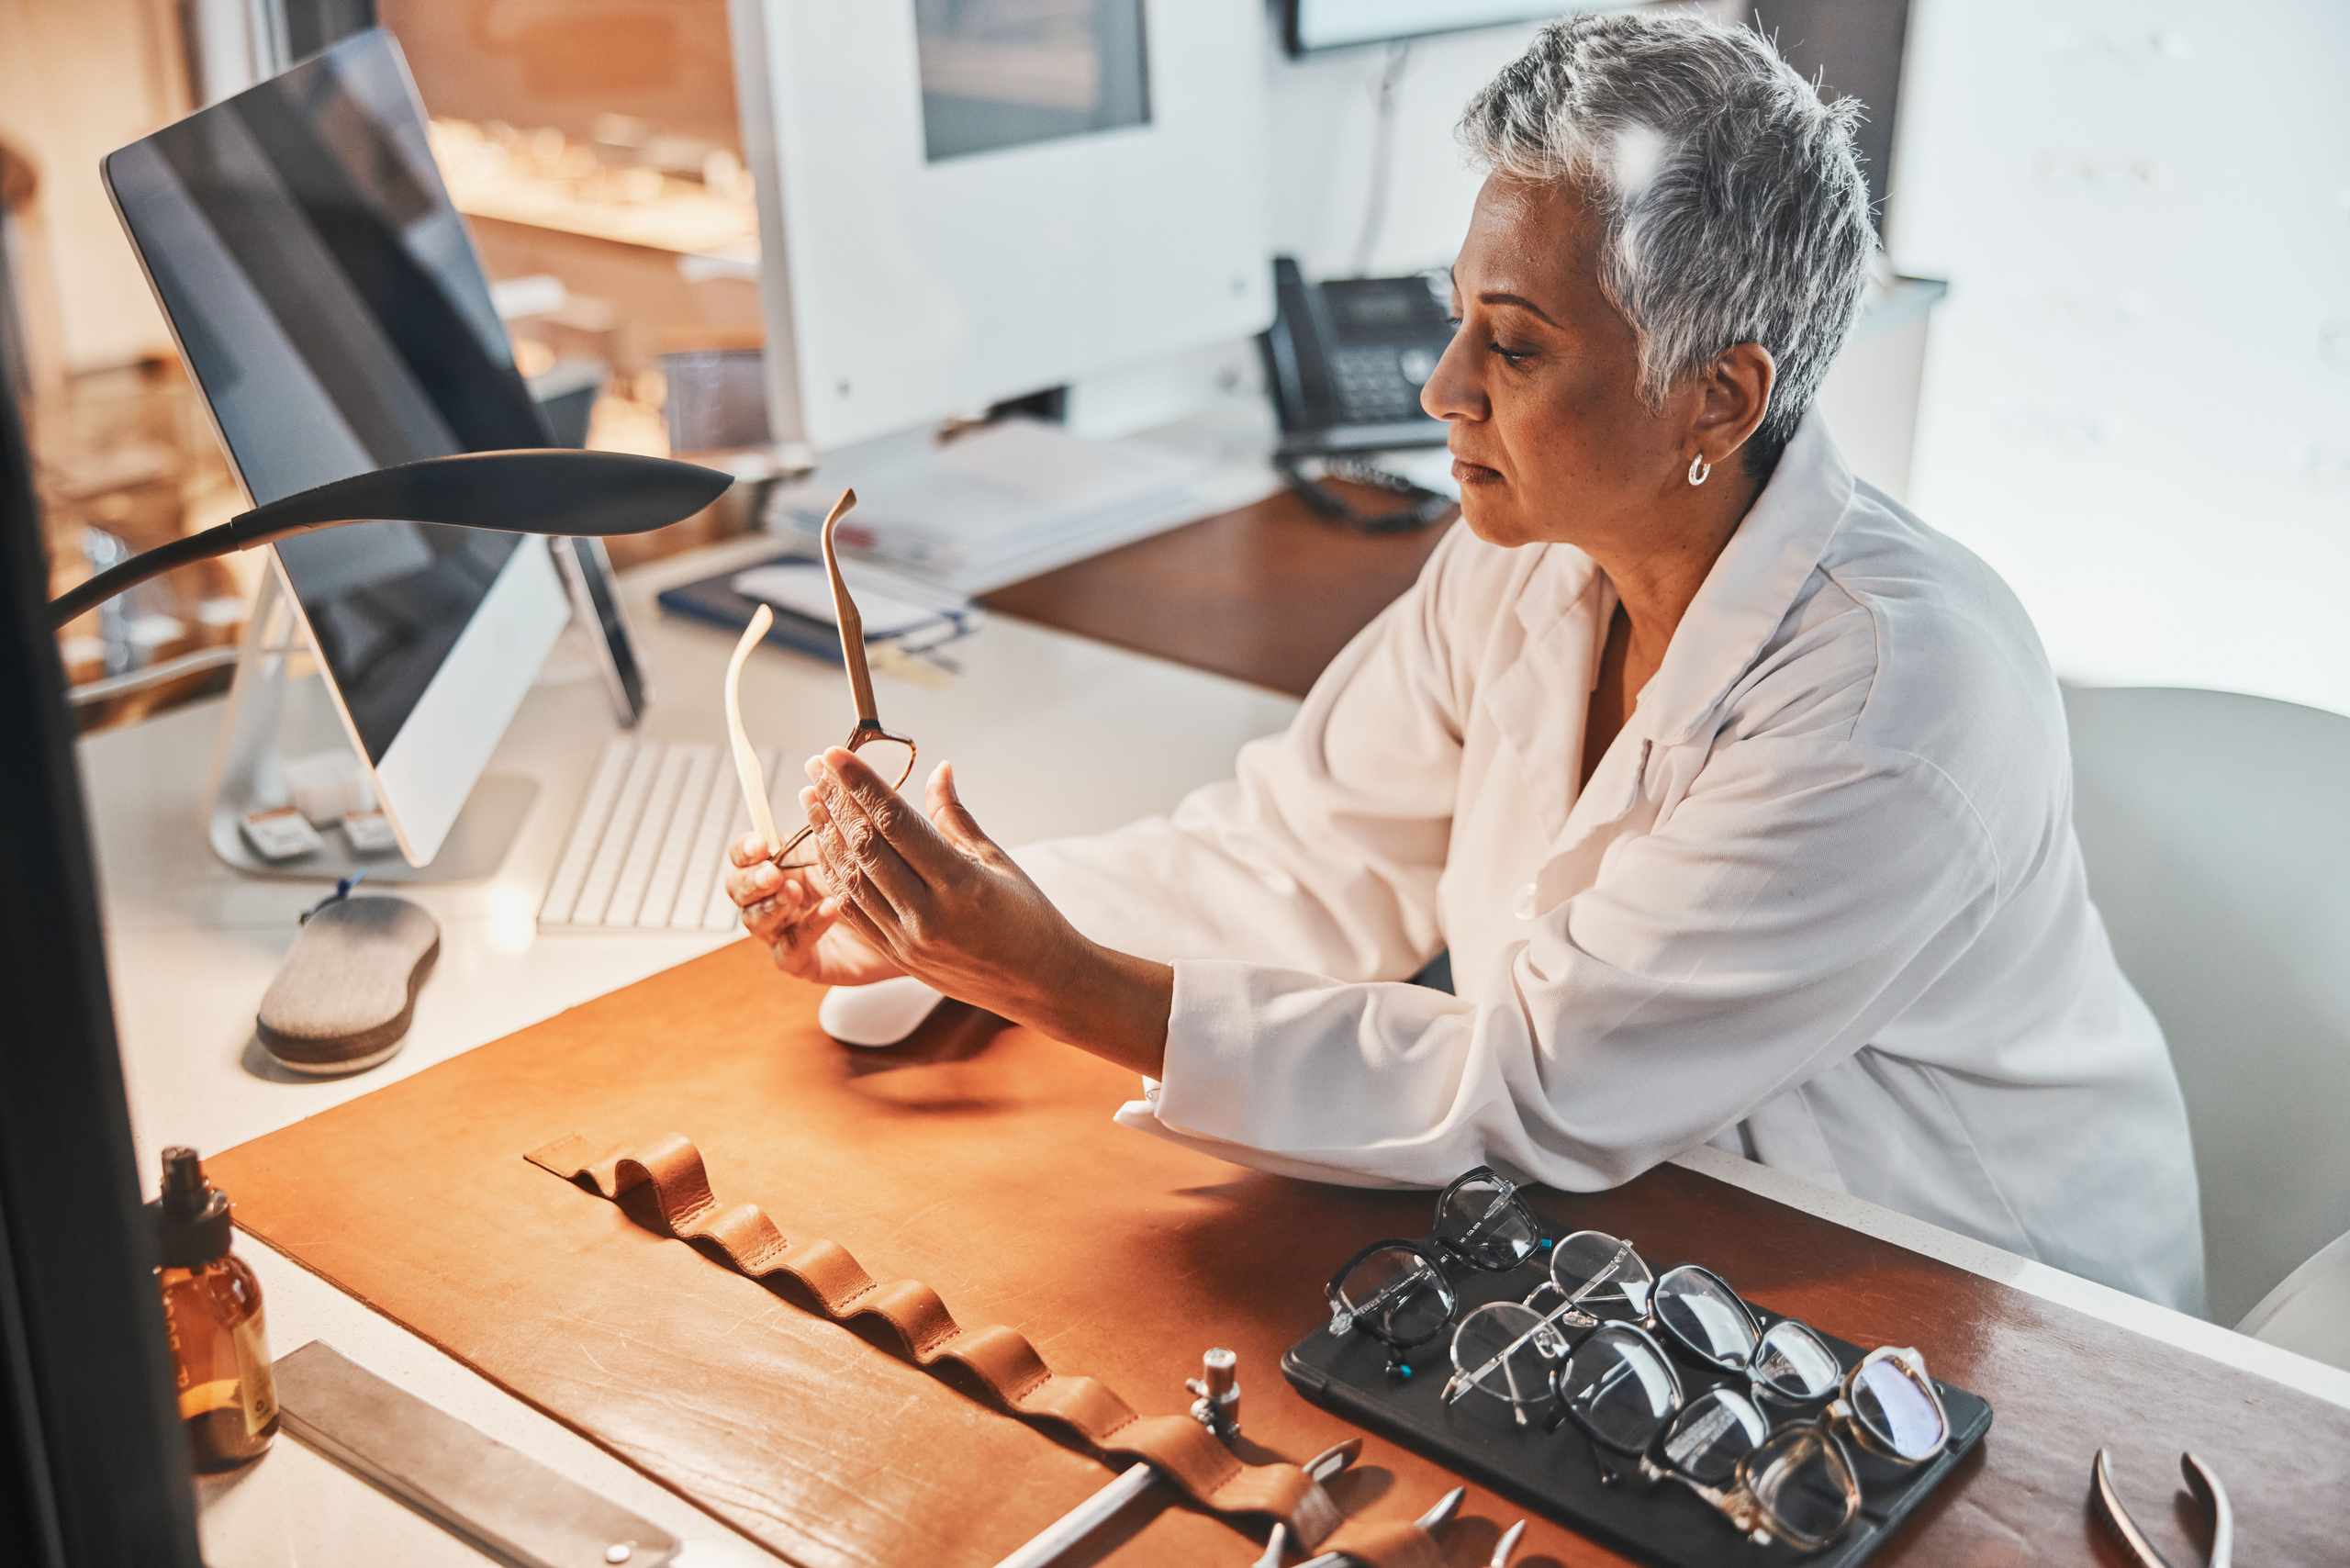
Finish Checks
Check edges, seams, alignment, and wearable comfort before polishing hides the details that still need correction.
Practice Materials
Use wire, beads, jump rings, chain samples, and scrap pieces to test handling before final assembly.
Bench Order
Follow a clearer sequence for measuring, cutting, shaping, filing, sanding, and checking each part.
Wearable Details
Notice how clasps, bails, ear wires, and pendant balance affect how a simple piece feels.
Student Notes
I used to rush straight into making a finished pendant. Practicing loops, seams, and filing on scrap pieces first made the whole process feel much easier to follow.

Ryosei Fujikawa
The small checks helped me notice rough edges and twisted jump rings before they became part of the piece. My work tray finally felt organized instead of chaotic.

Hana Kurosu
Built Around Careful Making
The homepage focus is not on luxury promises or instant results. It is on steady beginner practice with small tools, materials, and checks that make jewelry work less confusing.
Small jewelry parts leave little room for guesswork. Practice starts with marking wire, checking length, and deciding where each cut or bend should happen.
Jump rings, loops, clasps, and bails are checked for gaps, twist, and alignment before the piece is handled as finished.
Needle files, sanding papers, and a polishing cloth are used in order, so rough edges are corrected before shine becomes the focus.
The goal is a calmer habit of looking at the front, side, back, and contact points before moving to the next step.
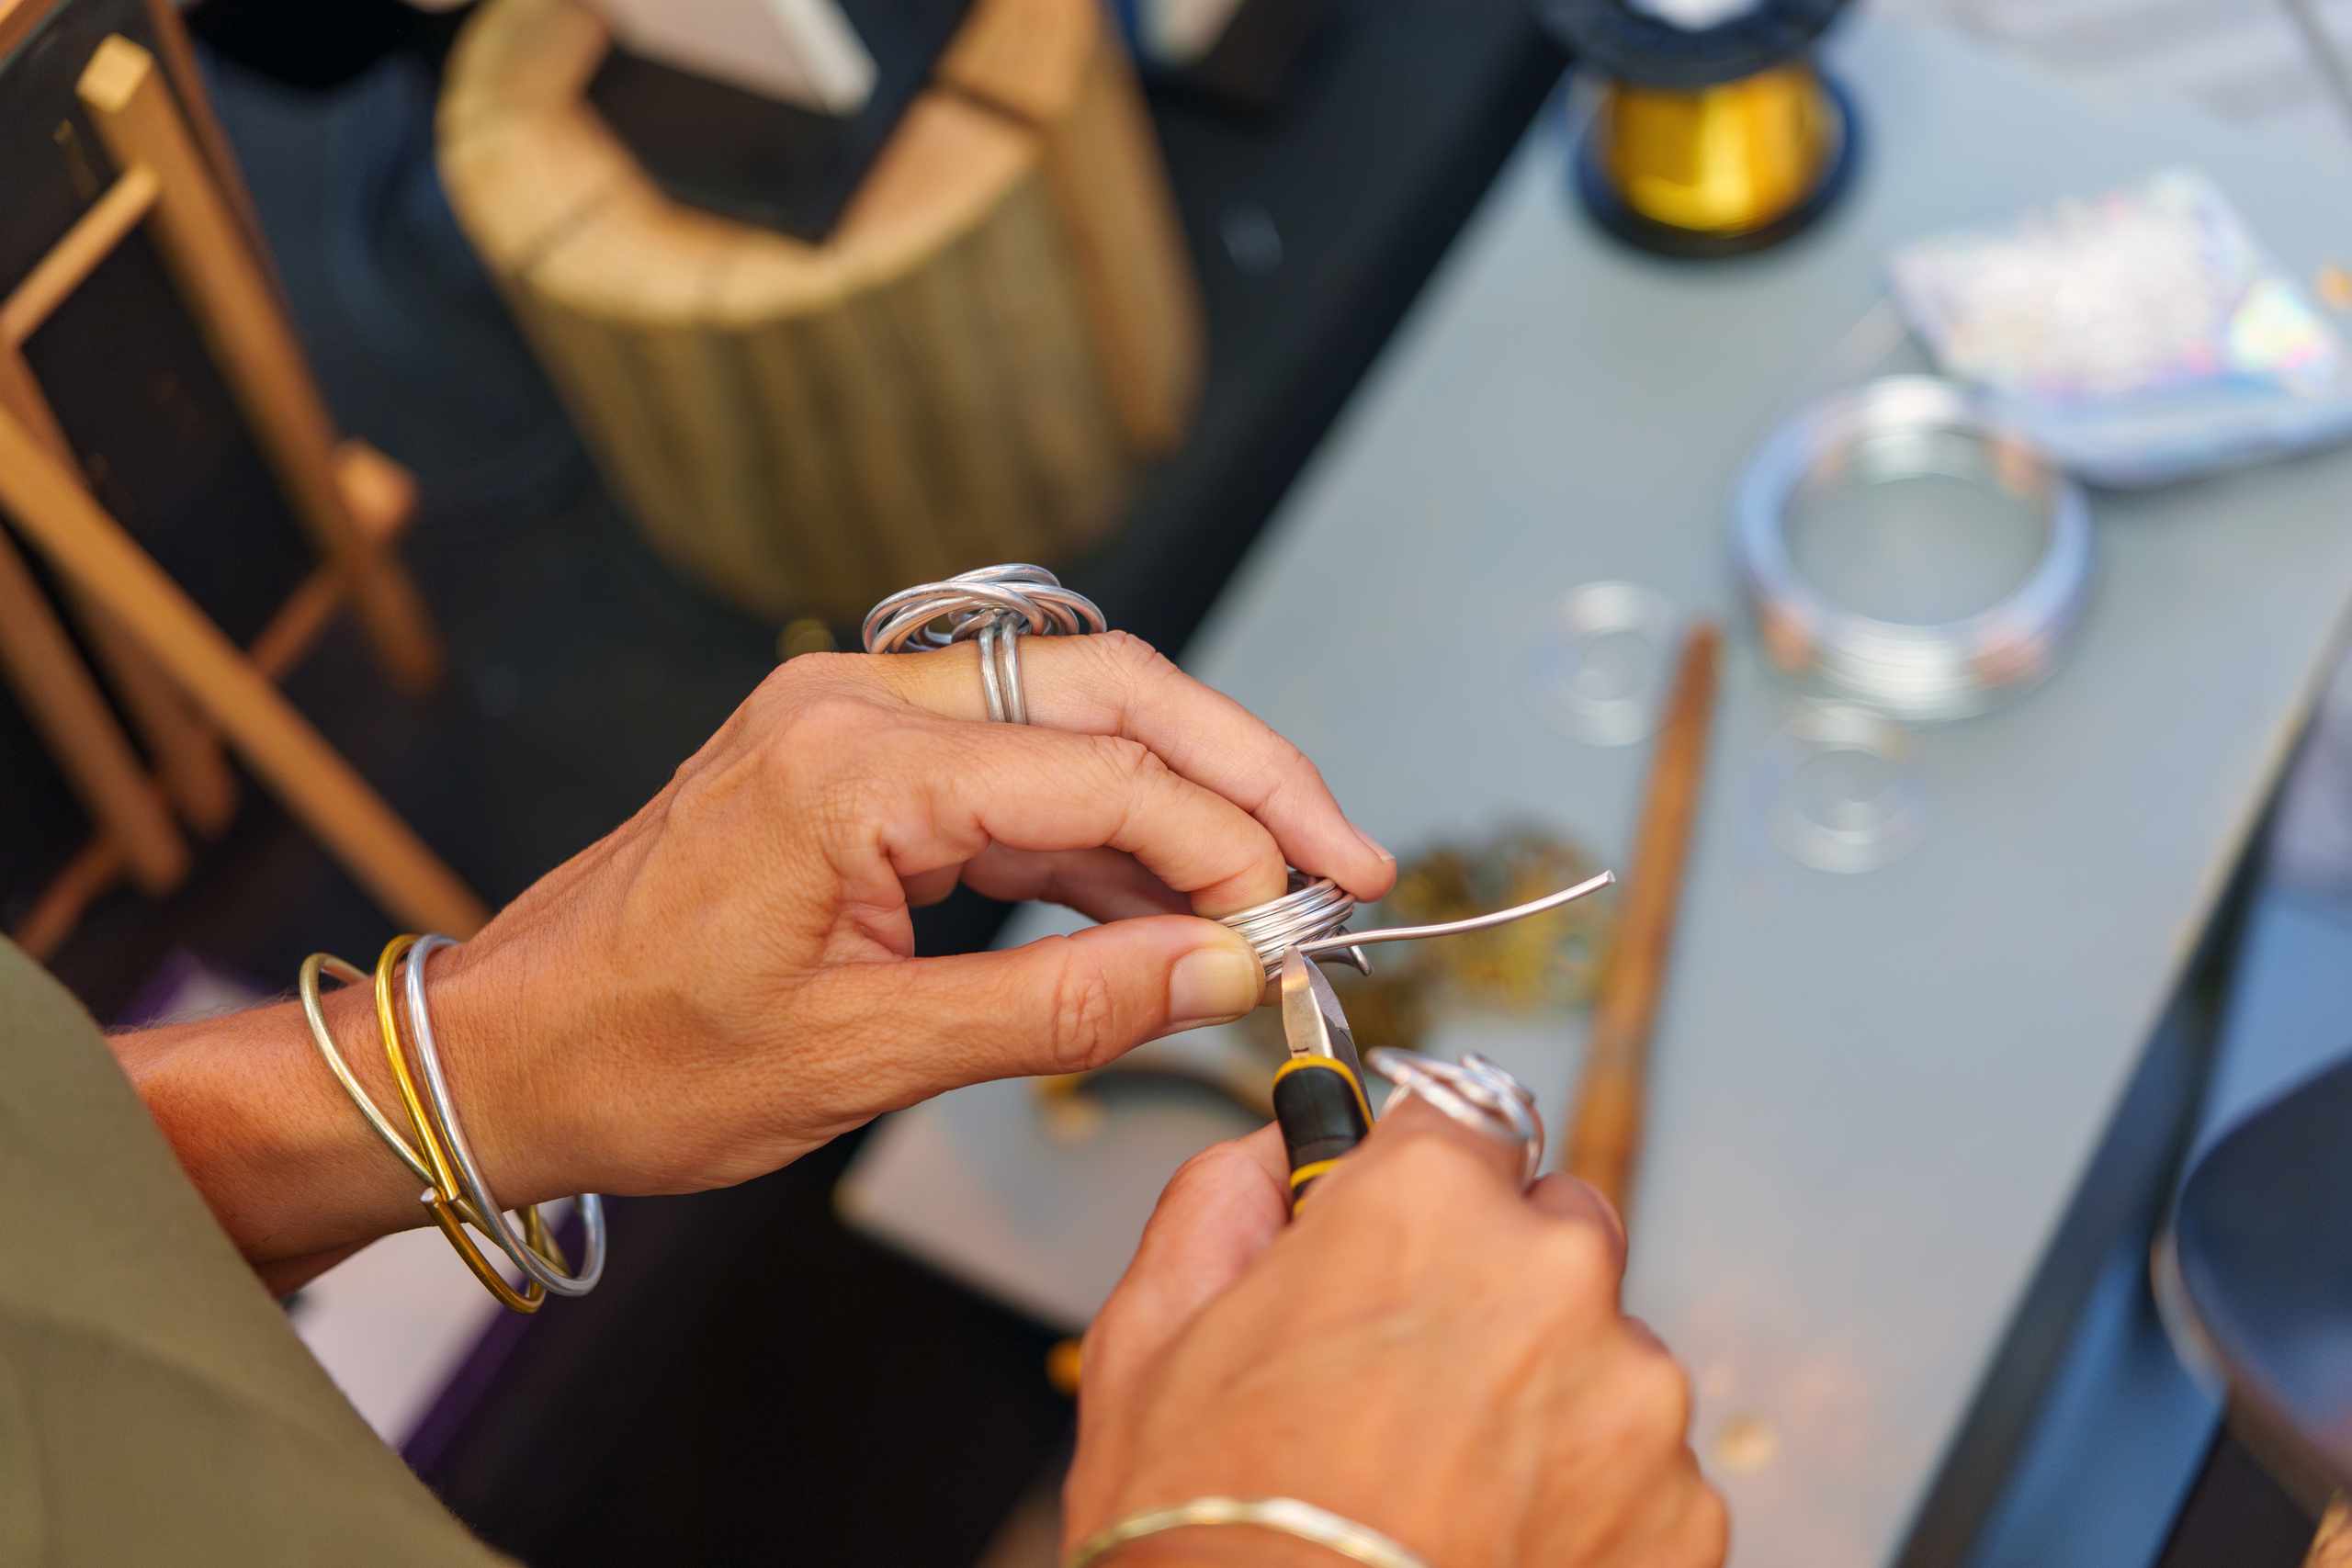
Wire Loops
Repeat round-nose plier movements until loop shape, gap size, and direction become easier to compare.
Stone Balance
Arrange beads or findings first so weight, spacing, and visual balance are checked before assembly.
Surface Finish
File and sand slowly, then use the polishing cloth only after visible marks and rough spots are reduced.